02
Layers - Duplicate
Effects - Plugins -
<I.C.NET
Software>
- Filters
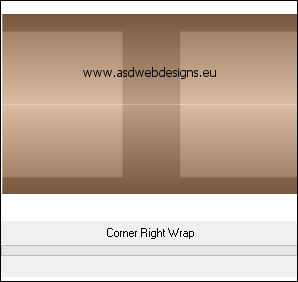
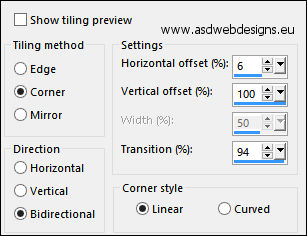
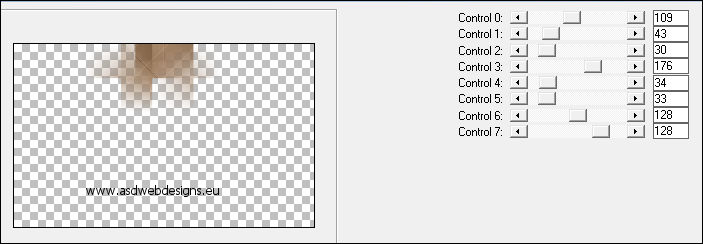
Unlimited 2.0 -&<BKg Designer sf10 I> - Corner
Right Wrap
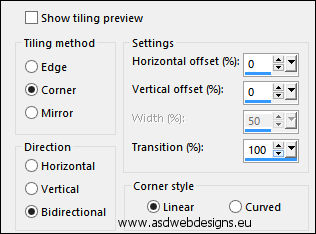
Effects - Image Effects - Seamless
Tiling - Preset Side by Side
03
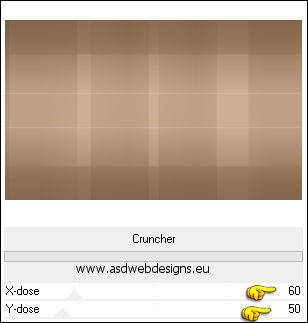
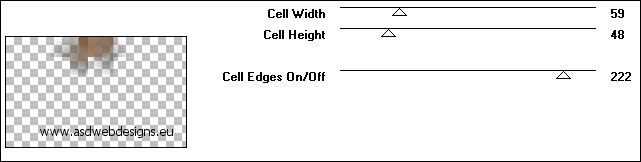
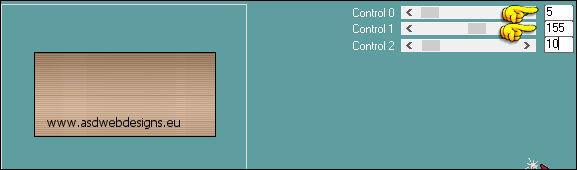
Effects - Plugins - <I.C.NET Software> - Filters
Unlimited 2.0 -&<BKg Designer sf10 I> - Cruncher
Effects - Edge Effects - Enhance
Layer
Palette -
Set
the Layer Opacity of this Layer to
50
Layers
- Merge - Merge Down
Effects - Edge
Effects - Enhance
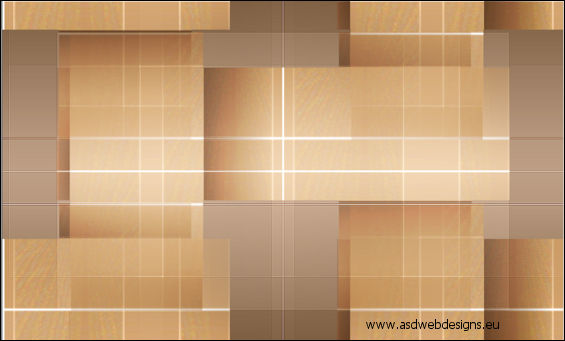
Result:
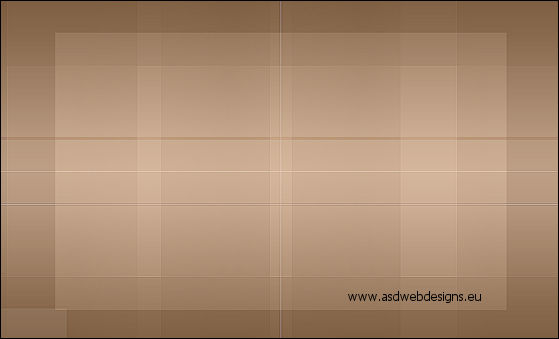
04
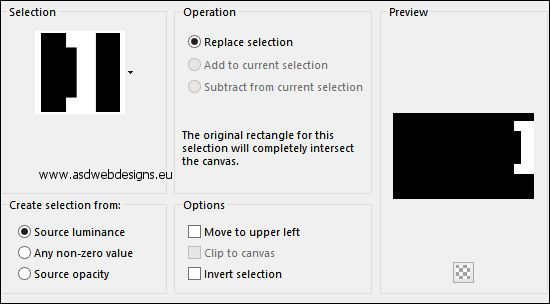
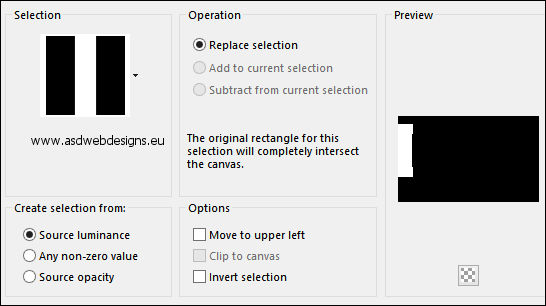
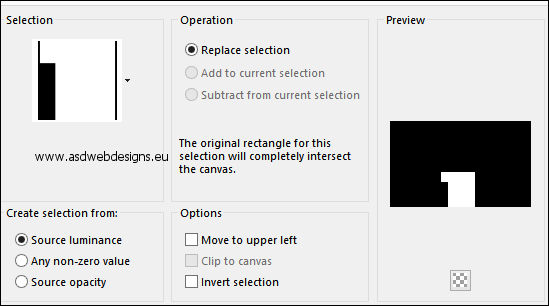
Selections - Load/Save
Selection - Load
Selection From Disk
- TD_Gentleman_Sel1
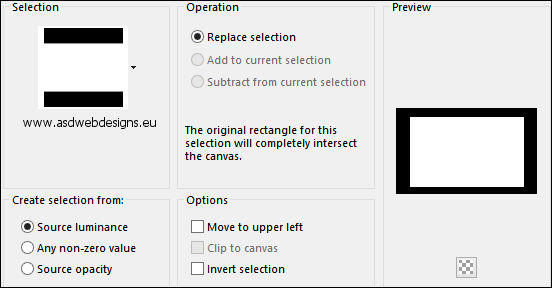
Selections - Promote Selection to Layer
Selections - Select
None
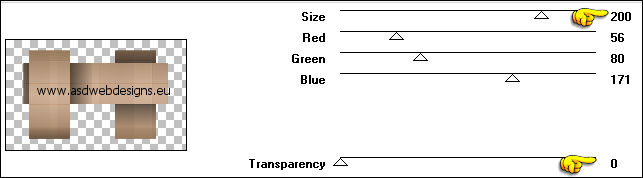
Effects - Plugins -
Filter Factory A -
Weave
Effects - Image Effects - Seamless
Tiling
Effects - Edge Effects - Dilate
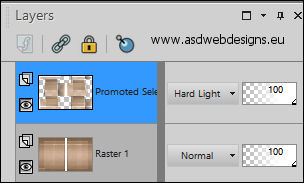
Layer
Palette - Set the Blend Mode of this Layer to "Hard Light"
Result:
05
Layer Palette -
Click on the Bottom
Layer
Selections - Load/Save
Selection - Load
Selection From Disk
- TD_Gentleman_Sel2
Selections - Promote Selection to Layer
Selections - Select
None
Layers - Arrange -
Bring to Top
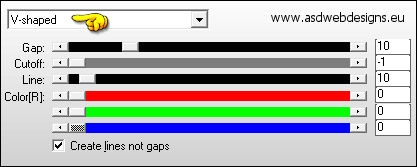
Effects - Plugins - AP [Lines]
- Lines - SilverLining
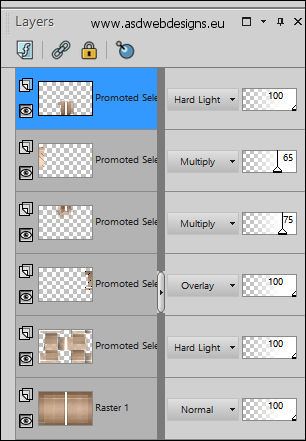
Layer
Palette - Set the Blend Mode of this Layer to
"Overlay"
06
Layer Palette -
Click on the Bottom
Layer
Selections - Load/Save
Selection - Load
Selection From Disk
- TD_Gentleman_Sel3

Selections - Promote Selection to Layer
Selections - Select
None
Layers - Arrange -
Bring to Top
Effects - Plugins -
Toadies - Weaver -
Default
Effects - Plugins -
L&K SiteOfWonders
- L&K's Paris
Adjust - Sharpness -
Sharpen More
Layer
Palette - Set the Blend Mode of this Layer to
"Multiply" and the Layer Opacity to 75
07
Layer Palette -
Click on the Bottom
Layer
Selections - Load/Save
Selection - Load
Selection From Disk
- TD_Gentleman_Sel4
Selections - Promote Selection to Layer
Selections - Select
None
Layers - Arrange -
Bring to Top
Effects - Plugins -
penta.com - jeans
Layer
Palette - Set the Blend Mode of this Layer to
"Multiply" and the Layer Opacity to
65
08
Layer Palette -
Click on the Bottom
Layer
Selections - Load/Save
Selection - Load
Selection From Disk
- TD_Gentleman_Sel5
Selections - Promote Selection to Layer
Selections - Select
None
Layers - Arrange -
Bring to Top
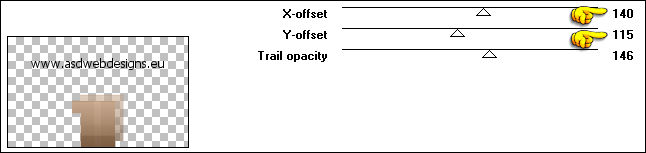
Effects - Plugins -
Toadies - Motion
Trail
Effects - Plugins -
L&K SiteOfWonders
- L&K's -
Zitah

Layer
Palette - Set the Blend Mode of this Layer to
"Hard Light"
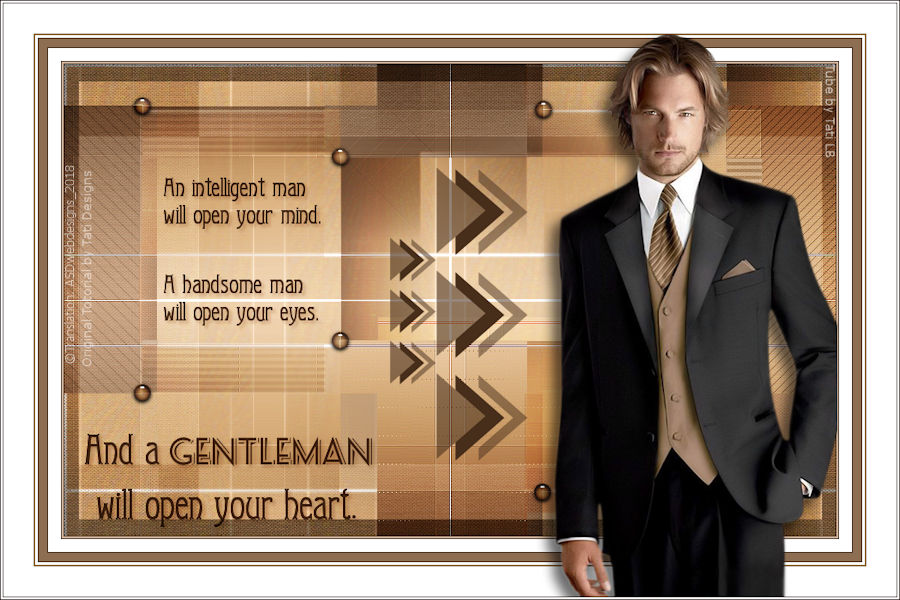
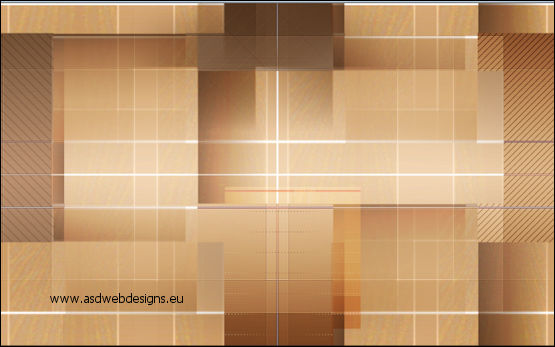
Result:
09
Maximize Tube
"TD_Deco1_Gentleman" from
tray
Edit - Copy
On your work image:
Edit - Paste As New
Layer
No need to move
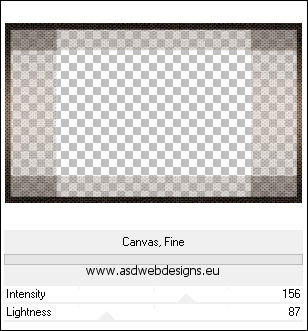
Effects - Plugins -
<I.C.NET Software> -
Filters Unlimited
2.0 - Paper Textures - Canvas, Fine - Default
Layer
Palette - Set the Blend Mode of this Layer to
"Hard Light" and the Layer Opacity to
65
10
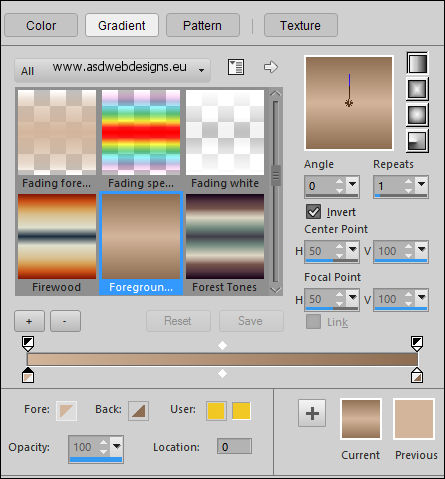
Color Palette: Set
the Foreground
Gradient back to
color and change to
#472e1b
Layers - New Raster Layer
Fill with the Foregroundcolor

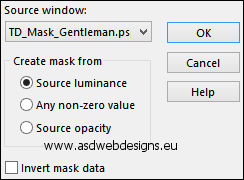
Layers - New Mask
Layer - From Image -
TD_Mask_Gentleman
Layers - Merge - Merge Group
11
Maximize Tube
"TD_Deco2_Gentleman" from
tray
Edit - Copy
On your work image:
Edit - Paste As New
Layer
Press K
on your
keyboard to
activate the
Pick Tool
Enter these
parameters on the
Toolbar
Position X 75 and Position Y
34
(
If this is new to
you, check my mini
tutorial
HERE)
Hit any key on
your keyboard to
close the Pick Tool
12
Maximize Tube
"TD_WordArt_Gentleman" from
tray
Edit - Copy
On your work image:
Edit - Paste As New
Layer
Press K
on your
keyboard to
activate the
Pick Tool
Enter these
parameters on the
Toolbar
Position X 24 and Position Y
132
Hit any key on
your keyboard to
close the Pick Tool
Effects - 3D Effects - Drop
Shadow - Vertical 3 -
Horizontal 3 - Opacity 50
- Blur 5 - Color
#d3b59b

Layer
Palette - Set the Blend Mode of this Layer to
"Multiply"
13
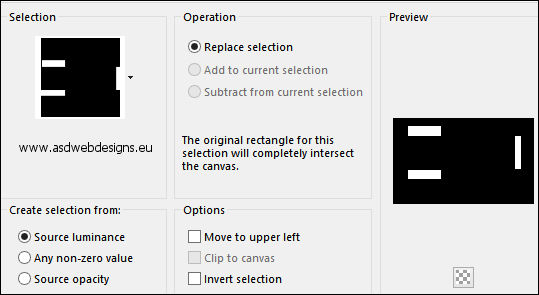
Layer Palette - Click on the Bottom Layer
Selections - Load/Save
Selection - Load
Selection From Disk
- TD_Gentleman_Sel6
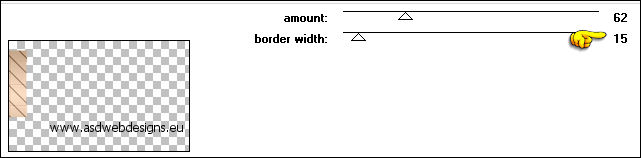
Effects - Plugins -
Carolaine and
Sensibility -
CS-HLines
Selections - Select None
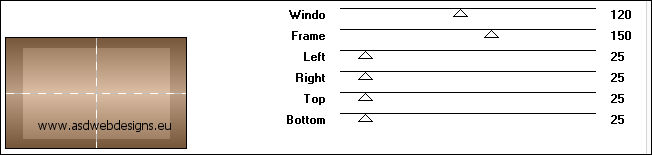
14
Image - Add Borders - Symmetric
checked - 1 px - #2c160e

Image - Add Borders - Symmetric
checked - 2 px -
#d3b59b
Image - Add Borders - Symmetric
checked - 1 px - #2c160e
Image - Add Borders - Symmetric
checked - 15 px - #ffffff

Image - Add Borders - Symmetric
checked - 1 px - #2c160e
Image - Add Borders - Symmetric
checked - 10 px -
#8d6e52

Image - Add Borders - Symmetric
checked - 1 px - #2c160e
Image - Add Borders - Symmetric
checked - 3 px - #ffffff
Image - Add Borders - Symmetric
checked - 2 px -
#8d6e52
Image - Add Borders - Symmetric
checked - 35 px - #ffffff
15
Maximize Tube
"2312
- man - LB TUBES" from
tray
Edit - Copy
On your work image:
Edit - Paste As New
Layer
Move to the Right
like this:
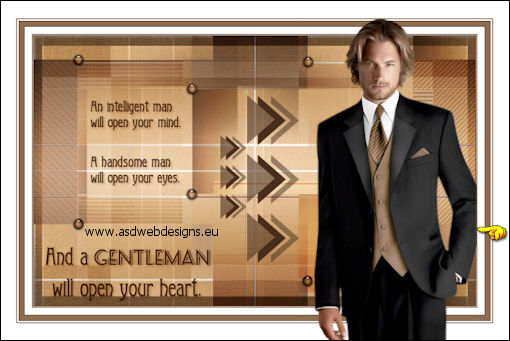
Effects - 3D Effects - Drop
Shadow - Vertical 10 -
Horizontal Minus 10 - Opacity
60
- Blur 20 - Color #000000

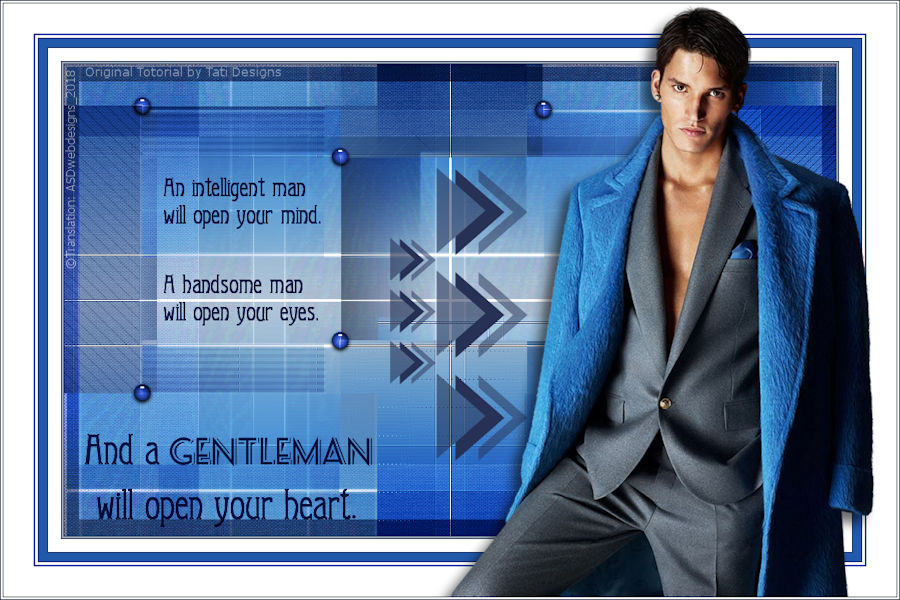
16
Image - Add Borders - Symmetric
checked - 1 px - #2c160e
Image - Add Borders - Symmetric
checked - 2 px - #ffffff
Image - Add Borders - Symmetric
checked - 1 px - #2c160e